
Authentization
Authentication is an essential part of secure API communication. All requests to the Mailship API require authentication via an API token. This section describes how to obtain and use an authentication token to access protected endpoints.
Obtaining an API token
The first step is to create a user account in Mailship. For this step, you need to contact our onboarding team or customer support.
To obtain an API token, you must log in using valid user credentials. This process is done via the login endpoint POST /api/login/user.
Request body (JSON):
{
  "login": "user@example.com",
  "password": "securepassword"
}
Successful response (JSON):
{
  "token": "eyJhbGciOiJIUzI1NiIsInR...",
  "exp": 1741422207
}
The token field contains the authentication token that must be used in all further API requests.
More detailed specifications in the API documentation.
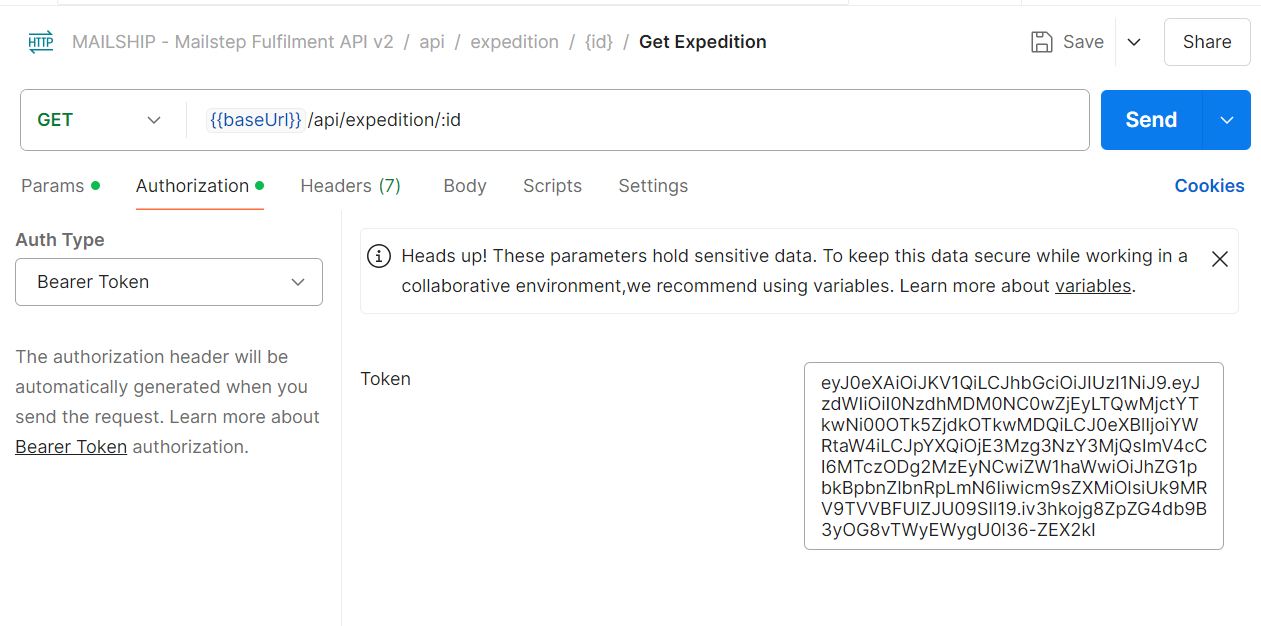
Using the API Token
To access protected endpoints, you must include an API token in the request header using the Bearer Token authentication scheme. Include the token in the Authorization header of each request.
Request example:
curl --location "https://app.mailship.eu/api/expedition/42cf3202-a3a1-4c4c-8695-a6807efeae29" \
--header "Accept: application/json" \
--header "Authorization: Bearer {{token}}"
If the token is invalid or expired, the API responds with a 401 Unauthorized error message.
Token renewal and expiration
Note that the access token is valid for a limited time only. After that time, the token expires and you need to request a new one by logging in again. It is recommended to implement automatic token renewal before its expiration.
Automating authentication in Postman
To make working with APIs in Postman easier, you can use pre-request scripts that automatically set the token in the request headers.
In the collection settings, paste this script into the tab “Scripts” -> “Pre-request”.
Pre-request script:
const url = pm.variables.get('baseUrl');
const account = pm.variables.get('accountType');
const login = pm.variables.get('accountLogin');
const password = pm.variables.get('accountPassword');
const token = pm.variables.get('token');
const exp = pm.variables.get('tokenExp');
const now = (new Date()).getTime() / 1000;

if (token && exp && exp > now) {
    console.log('Token is up to date!');
} else {
    console.log('Fetching token...');

    const request = {
        url: url + '/api/login/' + account,
        method: 'POST',
        header: { 'content-type': 'application/json' },
        body: { mode: 'raw', raw: JSON.stringify({ login, password }) }
    };

    pm.sendRequest(request, (error, response) => {
        // on error
        if (response.code !== 200) {
            const { message } = response.json();
            console.log('Fetching failed: ' + message || 'Unknown reason');
            return;
        }

        // on success
        var { token, exp } = response.json();
        console.log('New token: ' + token);
        pm.environment.set('token', token);
        pm.environment.set('tokenExp', exp);
    });
}
This script will get the new token and store it in Postman globals, from where it can be automatically used in subsequent requests.
Now all that remains is to add additional variables in the variables tab and don't forget to save the settings.
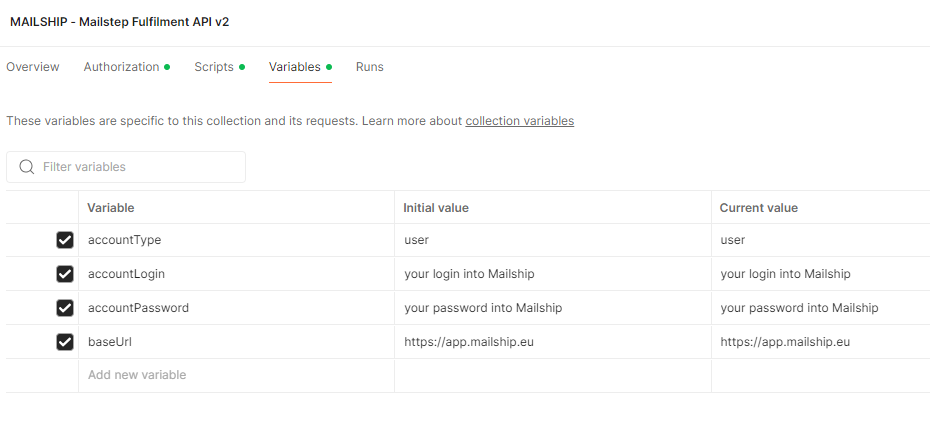
Following these steps will ensure secure and efficient authentication when working with the Mailship API.